To install a living wall irrigation system, we first choose the right irrigation method, like drip or mist. Next, we plan the tubing layout, ensuring ideal water distribution. We then connect the tubing and assembles drippers at the plant pots. After that, we set up the pump and reservoir to store water. Finally, we regularly check and maintain the system for leaks or clogs. Following these steps will help keep our plants thriving and our system efficient.
Key Takeaways
- Assess the living wall’s size and plant species to determine water requirements and layout design for optimal irrigation distribution.
- Select and install the suitable irrigation method, such as drip or mist, and lay out 1/4 inch micro tubing for precise water delivery.
- Connect components securely, ensuring a leak-proof system, and test water pressure and flow rates before planting.
- Regularly maintain the irrigation system by cleaning components, inspecting for leaks, and adjusting watering frequency based on seasonal changes.
- Monitor plant health and soil moisture to inform necessary adjustments and ensure effective irrigation over time.
Choosing the Right Irrigation System
When we’re choosing the right irrigation system for our living wall, it’s important to reflect on several factors that will affect both plant health and maintenance. We can explore various system types to find the best fit for our needs. For instance, direct water systems are great for new builds, while recirculating systems help conserve water effectively. Hydroponic systems are ideal for optimizing nutrient delivery and minimizing water use.
Here are some options to evaluate:
- Direct Water Systems: Continuous supply, best for accessible plumbing.
- Recirculating Systems: Recycle water, ideal for conservation.
- Manual Watering: Feasible for small walls, but labor-intensive.
Planning Tubing and Pipe Layout
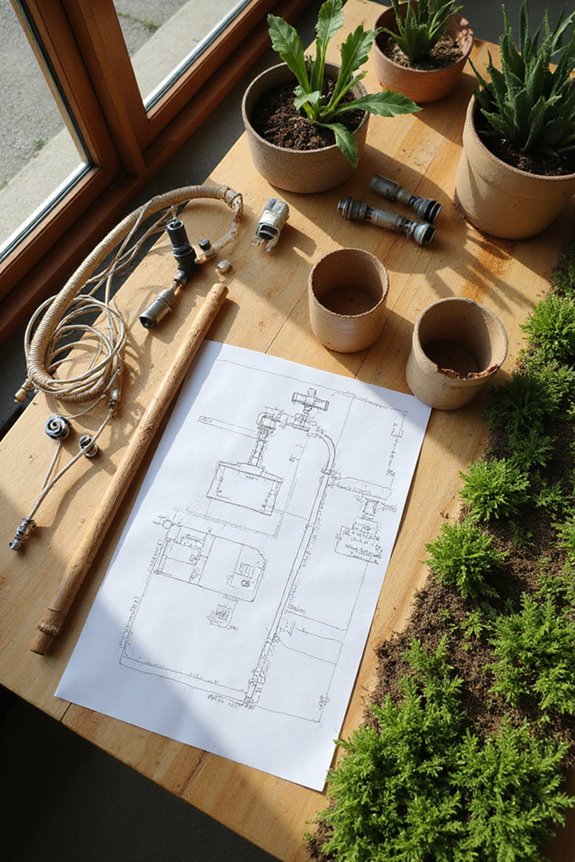
Planning the tubing and pipe layout is vital for guaranteeing our living wall gets the right amount of water. First, we need to measure the wall’s dimensions to determine the length of tubing required. For ideal water pressure, we should limit horizontal runs to about 32 inches from a vertical supply tube. If our wall exceeds 44 inches, using multiple supply tubes is a must to evenly split the flow.
Next, we’ll lay out 1/4 inch micro tubing for precise distribution. It’s important to choose appropriate tubing materials based on indoor or outdoor use. Finally, we should make sure that the tubing is accessible for maintenance while angling it slightly downward for efficient water delivery into each planting pocket.
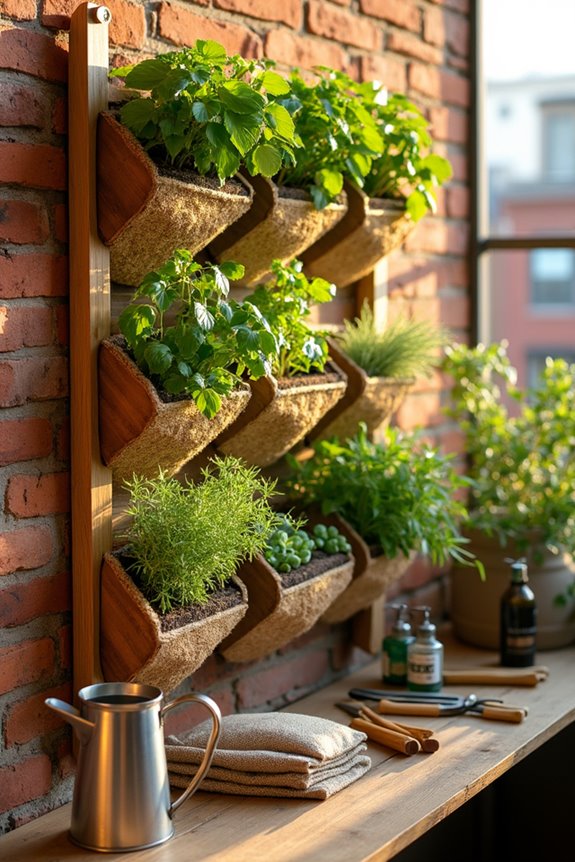
Installing Tubing and Pipes
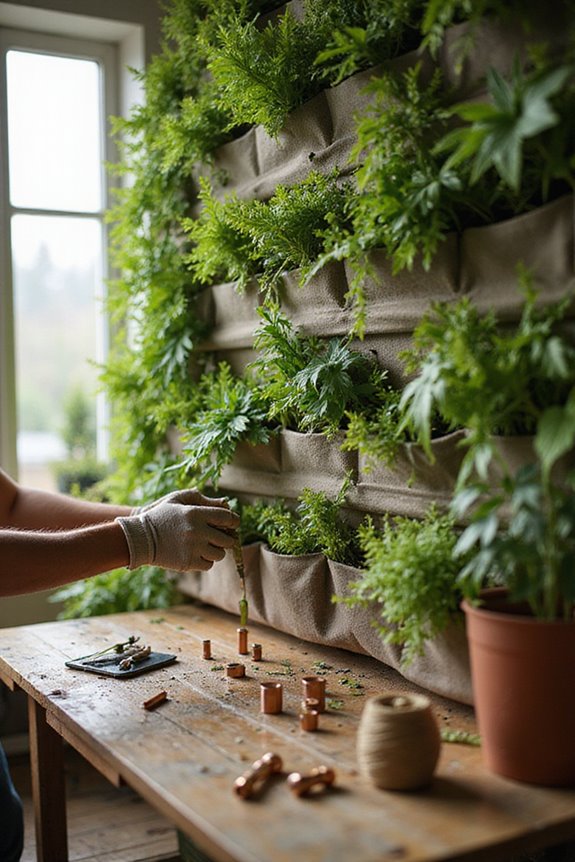
Installing tubing and pipes is an essential step in creating an effective irrigation system for our living wall. First, we’ll use 1/4″ micro tubing as the main line for up to 65 pots. For larger setups, let’s switch to 1/2″ tubing. Unroll the tubing and align it with our container locations. We’ll cut it at each pot center and insert a tee connector. It’s helpful to soak the tubing in hot water for ease of assembly.
Next, we’ll use cable ties to secure the tubing along the wall, ensuring it’s adjustable for maintenance. Remember to check all pipe fittings and connections for leaks. Finally, let’s flush the system to clear any debris, ensuring a smooth operation for our beautiful living wall.
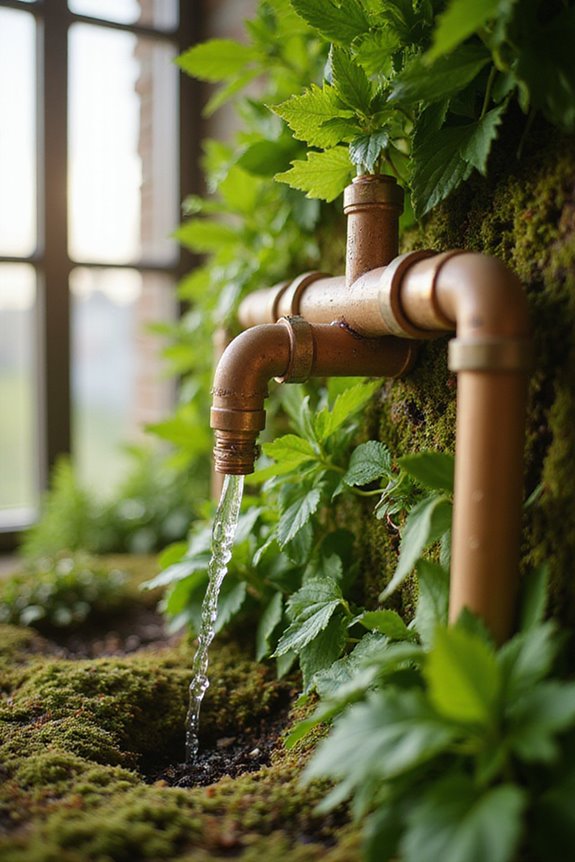
Setting Up Drippers and Emitters
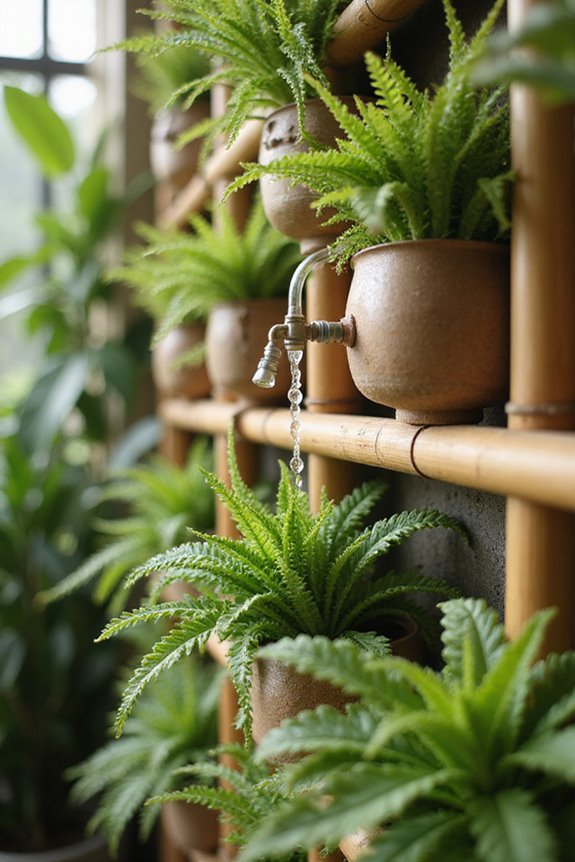
Setting up drippers and emitters is a key part of ensuring our living wall receives the right amount of water. We should select different drip emitter types based on the wall level, using 1.0 GPH for the top row and 0.5 GPH for lower rows. For each planting pocket, let’s place two emitters, positioning them about one inch from the edges to avoid blockages.
Here’s a simple strategy for placement:
- Use a hole punch to create precise holes in the main tubing.
- Soak micro tubing in hot water for easy connections.
- Insert emitters until they pop into place, ensuring a tight seal.
Finally, let’s flush the system to clear debris and check for proper flow.
Assembling the Pump and Reservoir
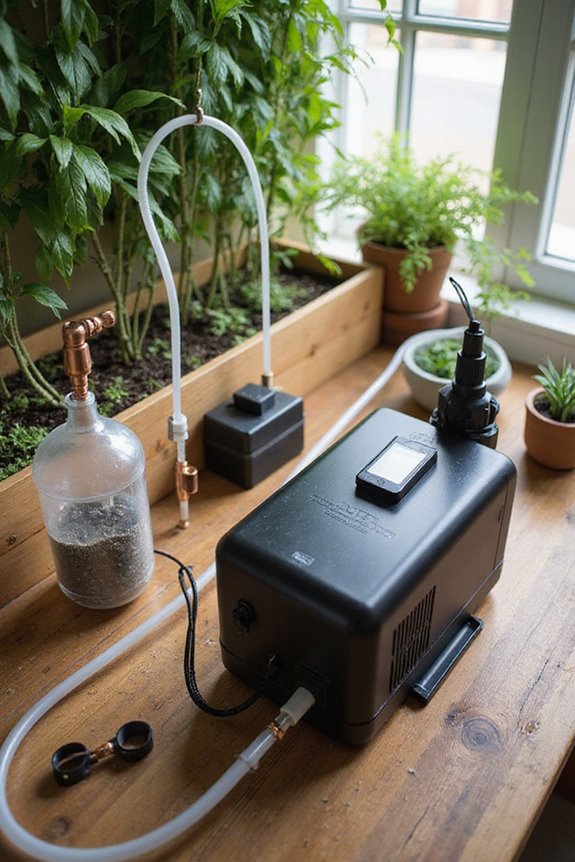
When it comes to assembling the pump and reservoir for our living wall irrigation system, a few key steps will help guarantee efficient operation. First, we’ll select the right pump types, choosing a submersible pump that fits our reservoir size and flow needs. Position the pump centrally at the bottom to maximize suction and prevent dry running.
Next, we’ll prepare the reservoir using durable materials, ensuring it’s stable and accessible for maintenance. Connecting the pump to the irrigation lines requires securely attaching a 1/2″ nipple to the outlet and using the correct tubing lengths.
Finally, let’s fill the reservoir, submerge the pump, and prime the system. This setup paves the way for a successful living wall irrigation experience.
Testing the Irrigation System
Testing the irrigation system is essential to confirm it functions properly before we plant our living wall. First, let’s check all tubing and pump connections for leaks. We should fill the reservoir with clean water and verify the irrigation components are assembled as per the guidelines. Next, we’ll activate the pump and observe the water flow. Using flow meters, we can measure the water delivered to each section, guaranteeing even distribution.
We’ll also monitor drainage by collecting excess water and testing its quality. This step helps us spot any nutrient leaching. Finally, we need to calibrate the moisture sensors accurately, validating their data against manual readings. This confirms our system will maintain ideal water quality for our plants.
Making Adjustments for Optimal Performance
Making adjustments for peak performance is essential to guarantee our living wall thrives. We need to start with frequency adjustments. For indoor walls, watering 1-2 times daily is ideal, while outdoor walls may need up to 4 times. Next, let’s focus on water distribution. For walls taller than 12 feet, we should upgrade to 3/4-inch tubing to ensure sufficient flow. Using tee adapters can help us split water supply lines for better coverage.
We must also monitor flow rates regularly to prevent dry spots or overwatering. If we notice uneven moisture, we might need to adjust pump speed or duration. By tailoring these adjustments, we can achieve optimal hydration for our plants and enhance our living wall’s overall health.
Regular Maintenance Practices
Regular maintenance practices are vital to keeping our living wall healthy and thriving. First, we should monitor soil moisture regularly. We can use a finger test or moisture sensors to guarantee we’re not under- or overwatering. It’s also important to adjust our watering frequency with the seasons, as plants need less water in winter.
Next, we must clean and maintain irrigation components. Regularly checking emitters and flushing filters helps prevent clogs. We should examine tubing for leaks and confirm the pump is functioning properly.
Lastly, observing plant health is essential. We need to look for signs of stress and verify that moisture is evenly distributed. Documenting our maintenance efforts will help us optimize the irrigation maintenance process over time.
Troubleshooting Common Issues
Troubleshooting common issues in living wall irrigation is essential for maintaining healthy plants. We need to watch out for water pressure and system leaks that can disrupt the balance. Here are some key areas to check:
- Inspect for Leaks: Regularly examine the system for leaks or clogs. This can prevent overwatering or underwatering.
- Adjust Watering Zones: Design your system with multiple zones for different plant needs. This guarantees even moisture distribution.
- Monitor Water Quality: Confirm your water source is clean and filtered to avoid contaminants.
- Evaluate Water Flow: If water drips from the front, check for misaligned panels or obstructing plants.
Enhancing System Efficiency and Longevity
Enhancing the efficiency and longevity of our living wall irrigation systems is crucial for sustaining vibrant plant health. To achieve this, we should select materials like Biotecture’s BioPanel to meet sustainability standards and guarantee durability. Using chemically inert growing mediums, like Grodan, helps maintain moisture retention without nutrient buildup.
We can optimize water efficiency by incorporating modular panels with uniform irrigation points and zoning options for tailored hydration. Additionally, installing automated systems with sensors will allow us to monitor and adjust watering based on plant needs.
Regular maintenance, including inspections and component rejuvenation, is essential for extending the system’s lifespan. By following these practices, we can create a thriving environment for our plants while being mindful of our ecological impact.
Frequently Asked Questions
What Plants Are Best Suited for a Living Wall Irrigation System?
As we cultivate our shared green sanctuary, we must carefully choose plants that flourish together. Pothos and ferns thrive in diverse light, embracing the warmth of sunlight and companionship, enriching our living wall’s vibrant tapestry.
How Much Water Do Living Wall Plants Typically Require?
When we consider plant water requirements, it’s essential to guarantee irrigation efficiency. Our living wall plants typically need about 2 liters per square meter daily, adjusting for factors like sun exposure and seasonal changes.
Can I Use Rainwater for My Living Wall Irrigation?
Absolutely, we can use rainwater for our living wall irrigation! By implementing rainwater collection, we enhance irrigation efficiency, promote healthier plants, and contribute to sustainable practices that benefit both our gardens and the environment.
How Often Should I Check the Irrigation System for Blockages?
Like a well-tended garden, our irrigation system thrives on regular checks. We should maintain a diligent maintenance schedule, inspecting monthly for blockages to guarantee our plants flourish and avoid any hidden troubles down the line.
What Are the Signs of Overwatering in Living Wall Plants?
When we notice overwatering symptoms, like yellowing leaves or wilting despite wet soil, it’s essential to assess our plants’ root health. Let’s work together to maintain their vigor by monitoring moisture levels effectively.